How to Manage Authorizations and Attachments
There are certain documents that are required as authorization for the condominium transform. The following documents must be included in the packet as authorizations:
Regular/Normal Condominiums/Conversion Units
- Regular transform authorization
- Condominium affidavit of value
- Affidavit for reduced fee transaction
- Information to Obtain Condominium Corporation Number
- Standard Unit Description (SUD) Form or Copy of Bylaws if SUD included in bylaws
- Form F.1 - The Condominium Property Regulations, 2001 (if applicable)
- Consent of Mortgagee to Transform (if applicable)
- Form J – Endorsed Declaration - The Condominium Property Regulations, 2001
Bare Land Condominiums
- Regular transform authorization
- Condominium affidavit of value
- Affidavit for reduced fee transaction
- Information to Obtain Condominium Corporation Number
- Form M - Certificate of Completion - The Condominium Property Regulations, 2001 (if applicable)
- Form J – Endorsed Declaration - The Condominium Property Regulations, 2001
- Consent of Mortgagee to Transform (if applicable)
Phased Condominiums
- Regular transform authorization
- Condominium affidavit of value
- Affidavit for reduced fee transaction
- Information to Obtain Condominium Corporation Number
- Information to Update Condominium Corporation Number (if applicable)
- Form J – Endorsed Declaration - The Condominium Property Regulations, 2001
- Standard Unit Description (SUD) Form or Copy of Bylaws if SUD included in bylaws
- Form M - Certificate of Completion - The Condominium Property Regulations, 2001 (if applicable)
- Form F.1 - The Condominium Property Regulations, 2001 (if applicable)
- Consent of Mortgagee to Transform (if applicable)
Please note that some condominium forms under The Condominium Property Regulations, 2001 such as Information to Obtain Condominium Corporation Number are required when submitting your packet. These forms are available from The Queen's Printer.
There are three components to managing authorizations and attachments:
- Upload the documents to your packet from a file where you have saved the scanned documents;
- Add those documents to the appropriate transaction with the packet; and
- Identify each document as an authorization or an attachment.
There are two different ways that authorizations that will be attached to the surrender authorization can be scanned.
- The documents can be scanned together as one document, then uploaded and added to the Manage Authorizations and Attachments section as one document.
- The documents can be scanned as separate documents, then uploaded and added to the Manage Authorizations and Attachments section one at a time.
To upload a document or documents, see the steps below.
Step 1:
Upload Documents
Save the completed document(s) to your computer in PDF format.
Click the
New Upload button, in the
Manage Authorizations and Attachments section. The
Select Files to Upload screen will display.
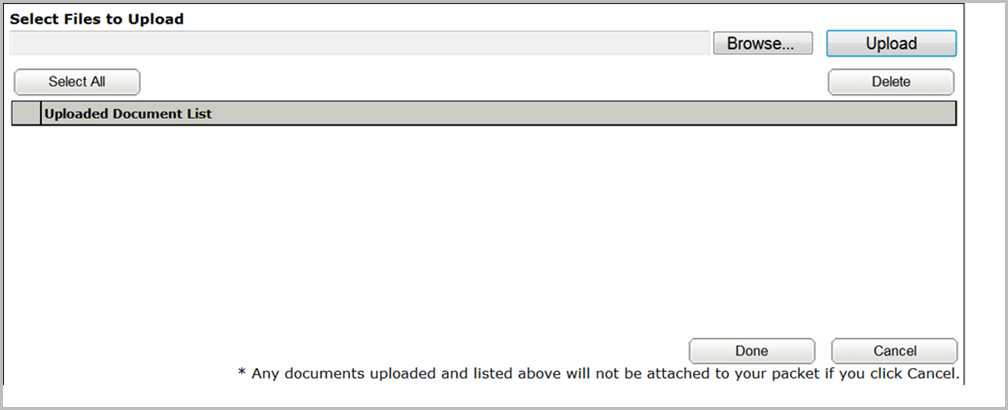
Click the
Browse button. this will allow you to access saved files on your personal computer or network.
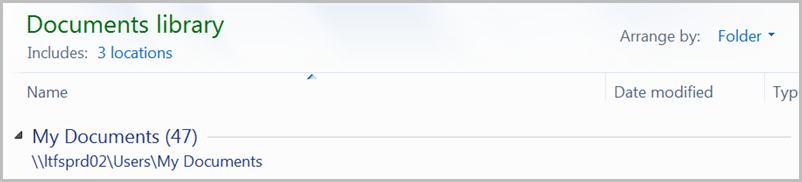

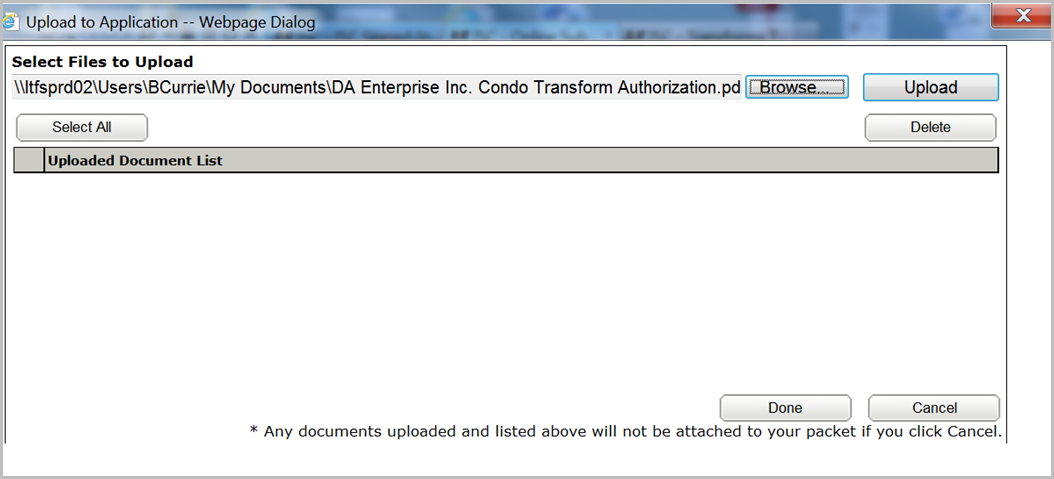
Double click on the file name or click it once then click the
Open button at the bottom of the screen. The
Select Files to Upload screen will display, showing the path to the document.
Click the
Upload button. The blue progress bar will show you the time remaining in the upload. Once the file has been uploaded, it will display in the
Uploaded Document List.
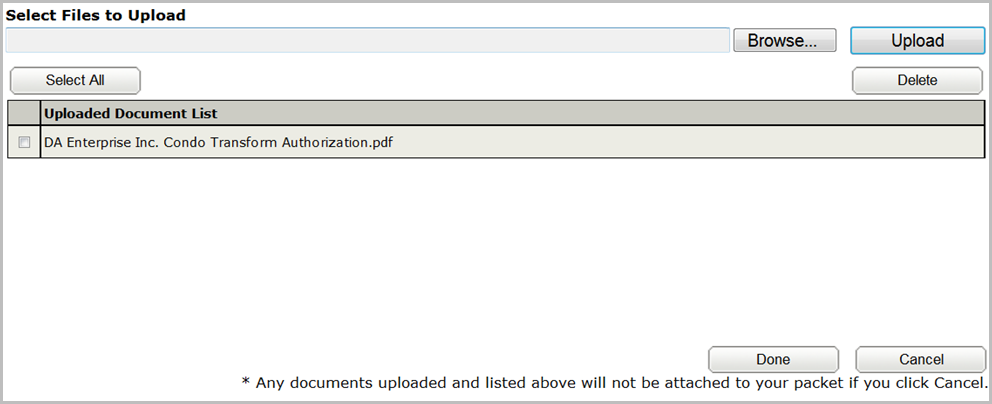
You can only browse and upload one document at a time. If necessary, continue to browse and upload files until all documents are uploaded.
If you want to delete a document, click the checkbox to the left of the document you want to delete, in the
Uploaded Document List. Then click the
Delete button.

Click the
Done button when all the documents have been uploaded. The system will display the uploaded document(s) in the
Manage Authorization and Attachments screen.
Click the checkbox to the left of any uploaded document to view, rename, remove a document, or add the document to
My OLS Documents. See the
Managing Authorizations and Attachments e-learning tutorial for details.
Step 2:
Select Document Type
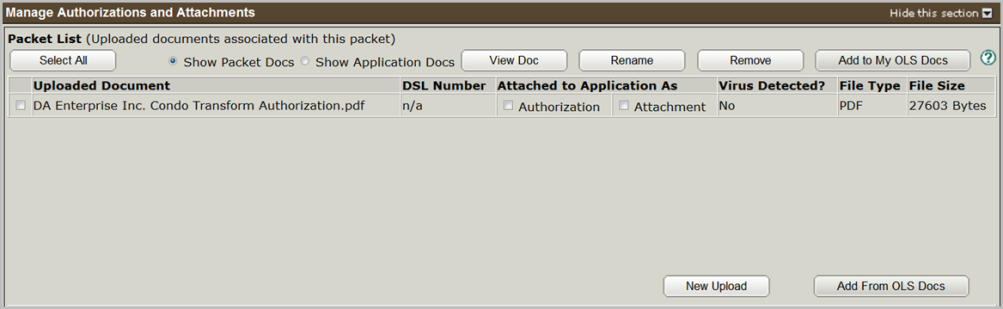
Click the
Authorization or
Attachment checkbox, as appropriate, for each document.

Even though the document appears in the grid, the
OLS system does not acknowledge its existence until the appropriate checkbox is selected. In the sample shown, only one document has been uploaded, and it is required as an authorization in the packet.
Note that all the authorizations can be uploaded as one single document or uploaded as individual documents.
Step 3:
Save
Scroll to the bottom of the application and click the
Save button.
