Output is generated whenever a Search or Registration operation is performed and will appear in the Output List area of the SPPR Application. These output documents are generated in the form of an Adobe Acrobat document. They can be viewed, printed, saved and sent to someone else using a variety of methods. Your Output List will automatically contain output documents of Searches or Registration that you have processed. As well, other users can allow you to view their output which you’ll access from the Delegate List tab. Let’s take a closer look.
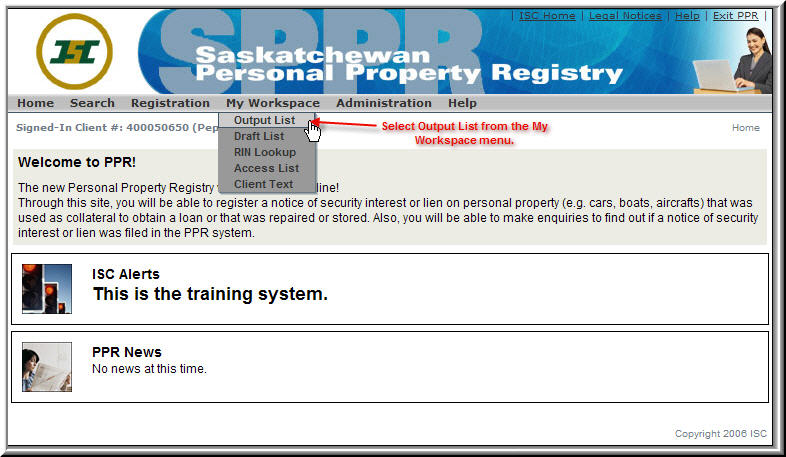
You’ll access the Output List area from the My Workspace menu on the SPPR Application Home Page.
The Output List Page
This page can display up to 50 items. When there are more than 50 items in your Output List page navigation will be available at both the top and bottom of this page.
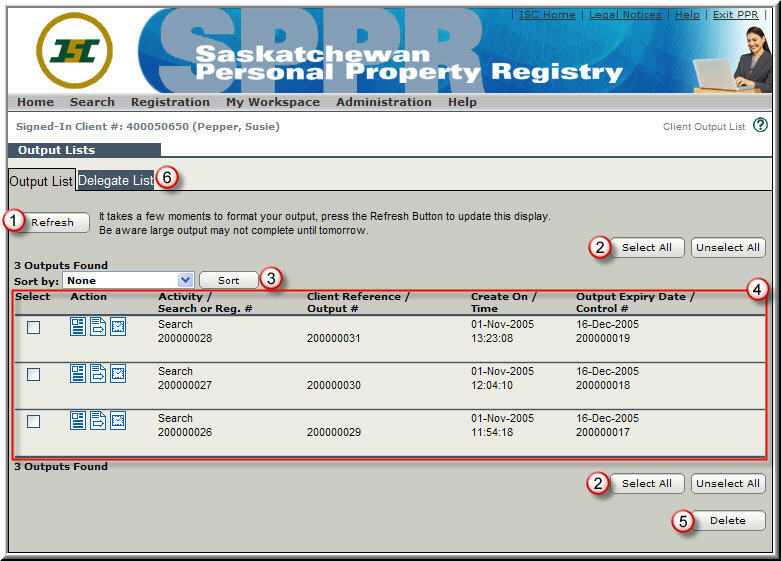
- When you click on this button your page will be updated with any documents that have finished generating.
- The Select All button is used to delete ALL of the reports in your Output List. To Delete ALL of the reports in your Output List, click Select All on and then on Delete.
- If you clicked on the Select All button by mistake, clicking on Unselect All allows you to unselect ALL of the reports you’ve selected.
- To Delete a single report, click in this checkbox next to the report then click on Delete.
- The Sort by: field and Sort button allow you to sort the items in your Output List, making it easy to find specific items.
- There are four columns of information that are displayed:
- Activity / Search or Reg #: This column indicates whether the document is related to Search or Registration activity (setup, amendment or discharge) followed by the ID number of the Registration or Search.
- Client Reference / Output #: This column will display the Client Reference Number that you assigned (if any) along with the Output ID Number.
- Create On / Time: Displays the date and time the Output document was generated.
- Output Expiry Date / Control #: All Output documents remain available in the SPPR database for 45 days unless of course, you manually delete it from your Output List. This column will display the date the Output will expire followed by the Control #.
- This button will delete any items that have been selected. If you click on Select All and then Delete you will delete EVERYTHING in your output list!
- The Delegate List tab will take you to your delegate list. If another user has added you to their Access List you will be able to access the work they have given you access to (Output, Draft and/or RIN Lookup)
Send Output
This page allows you to have Output sent by ISC. Output can be sent in one or more of the following formats: Mail, Email, Fax, or CD.
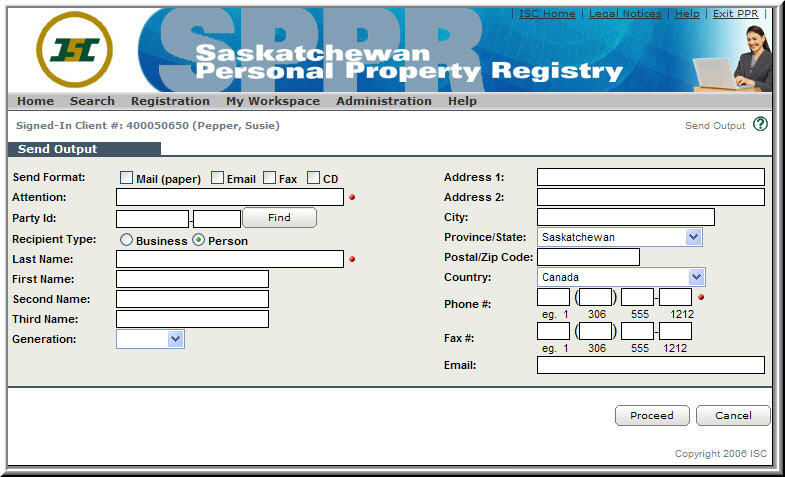
- Complete the fields.
- Click in the checkbox next to the method you want used to send the output.
- The Attention, Last Name, and Phone Number fields are mandatory.
- If you’re processing a request for a client that has a Party ID, you can use the Party ID field to have the SPPR Application populate the address fields for you. Enter the Party ID in the Party ID fields and then click on the button.
- If you didn’t use the Party ID functionality, click in the appropriate radio button next to the type of recipient receiving the document. The associated Recipient name and address fields will be displayed. In our example above, the Person Recipient fields are shown, if you had selected a Business Recipient, the only field that would appear before the address fields would be Business Name.
- Once you have completed all of the required fields, click on Proceed. You will be taken to the Output Confirmation page where the send options you selected along with the associated costs will be displayed.
Output Confirmation Page
This page displays the cost of sending the output and gives you the option of proceeding (and accepting the costs) or canceling the request and returning to the Send Output page. This page also displays the reason for the charge, the account that will be charged, the funds available within that account, and the amount of the charge. You can also add funds to the associated account (temporary or permanent) using a valid Credit Card (Visa or MasterCard) by clicking on the Click Here to make a Credit Card Payment link. A new browser window will open, allowing you to enter the credit card information and process the payment.
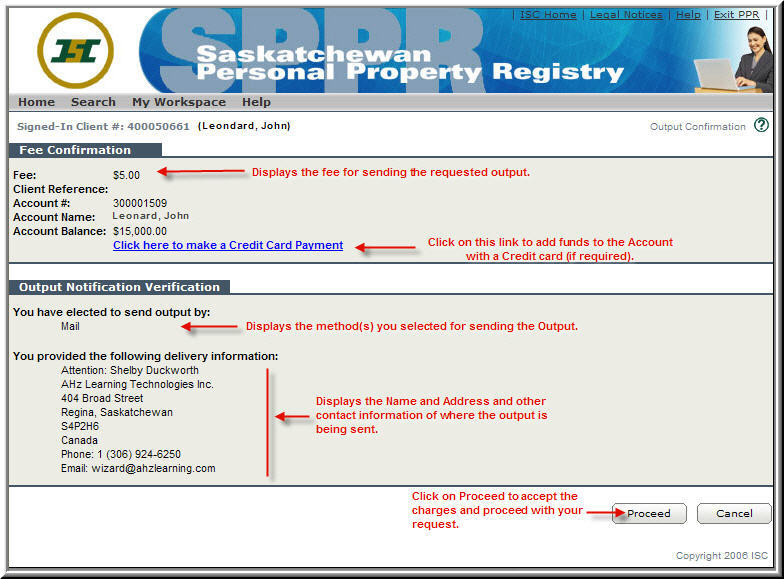
As soon as you click on the Proceed button, the Output is queued into the ISC COMS system. The Notification Confirmation page will be displayed, indicating that your Output was successfully queued to COMS and the financial charge has been applied.
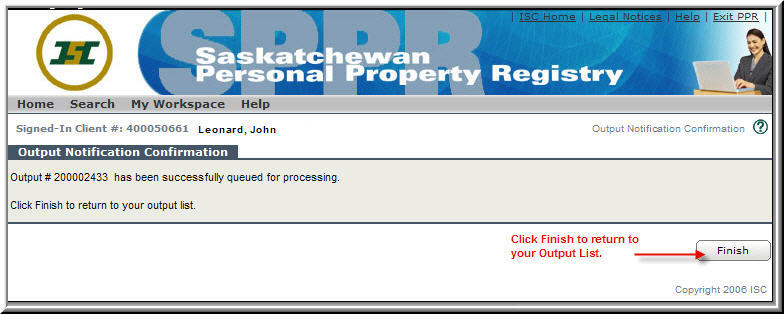
Click on Finish to return to the Output List.
Output Sent History
This page will display the sent history of the Output document. You will find the date the Output was sent, how it was sent (fax, email, mail, and/or CD), as well as the information that was used to send the Output (name/address, fax number, email address etc.). You’ll also find the Output Search/Registration Number, Output ID Number and COMS Request Number.
This is a ‘View Only’ page. You can’t access any of the documents or perform any other functions associated with those documents. You can however use the button to return to your Output List page.
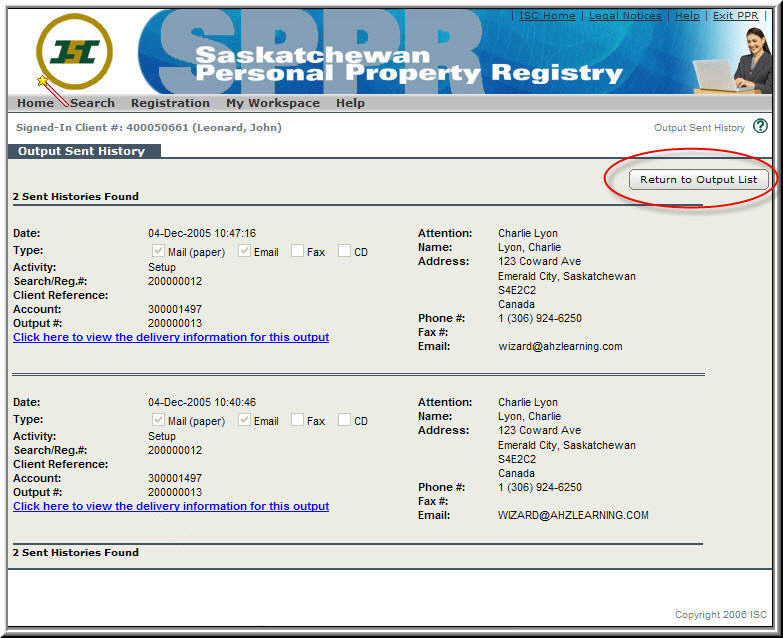
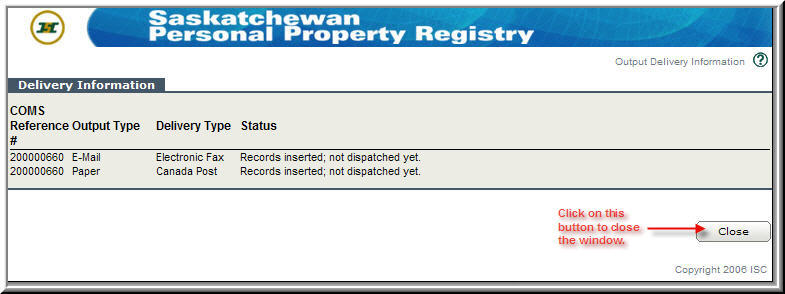
The Click here to view the delivery information for this output link will display a window containing the Delivery Information particulars (see example below).
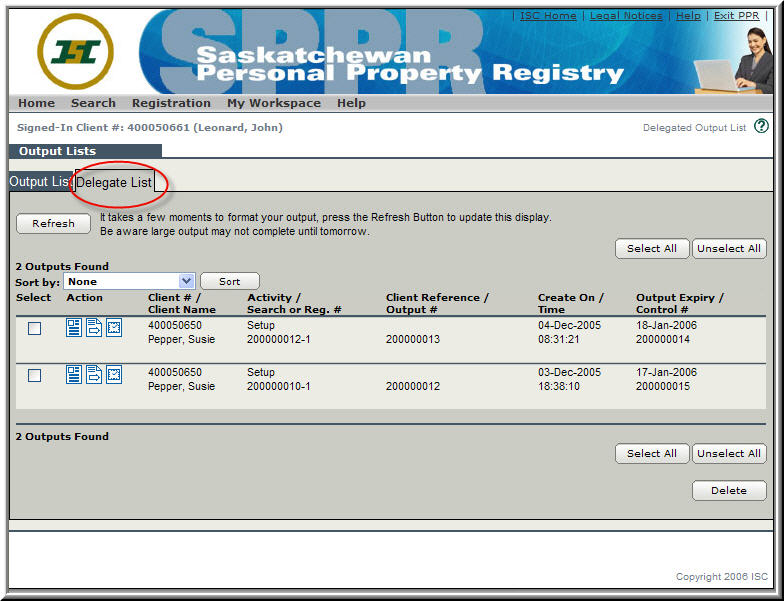
Delegate List
If someone has given you access to their Output List by defining you as a Delegate, you will be able to access any Output options they have given you access to (Draft List, Output List and/or RIN Lookup). Below is an example is John Leonard’s Delegate List. As you can see Susie Pepper, another user, has given John access to her Output List.
To delete some documents from your Delegate List:
- Click in the check box next to the item(s) you want to delete.
- Click on Delete
To delete all the documents from your Delegate List:
- Click on Select All.
- Click on Delete.